Design your dream space with Bathshack’s new bathroom planner
When it comes to designing your bathroom, it’s important to get the layout just right for what you want and need. Being able to visualise how everything will look is key, which is why we’re delighted to introduce our Bathroom Planner and 3D Explorer – a handy online design tool which is completely free to use on the Bathshack website.
It subsequently allows you to create a 3D version of your bathroom so you can see a visual representation of the space and how it will look with your chosen bathroom-ware in place. You can also enjoy a 2D and a final 360° view of the finished design, which you can save and then discuss with a member of the Bathshack team.
Achieving your dream bathroom is only a few clicks away …
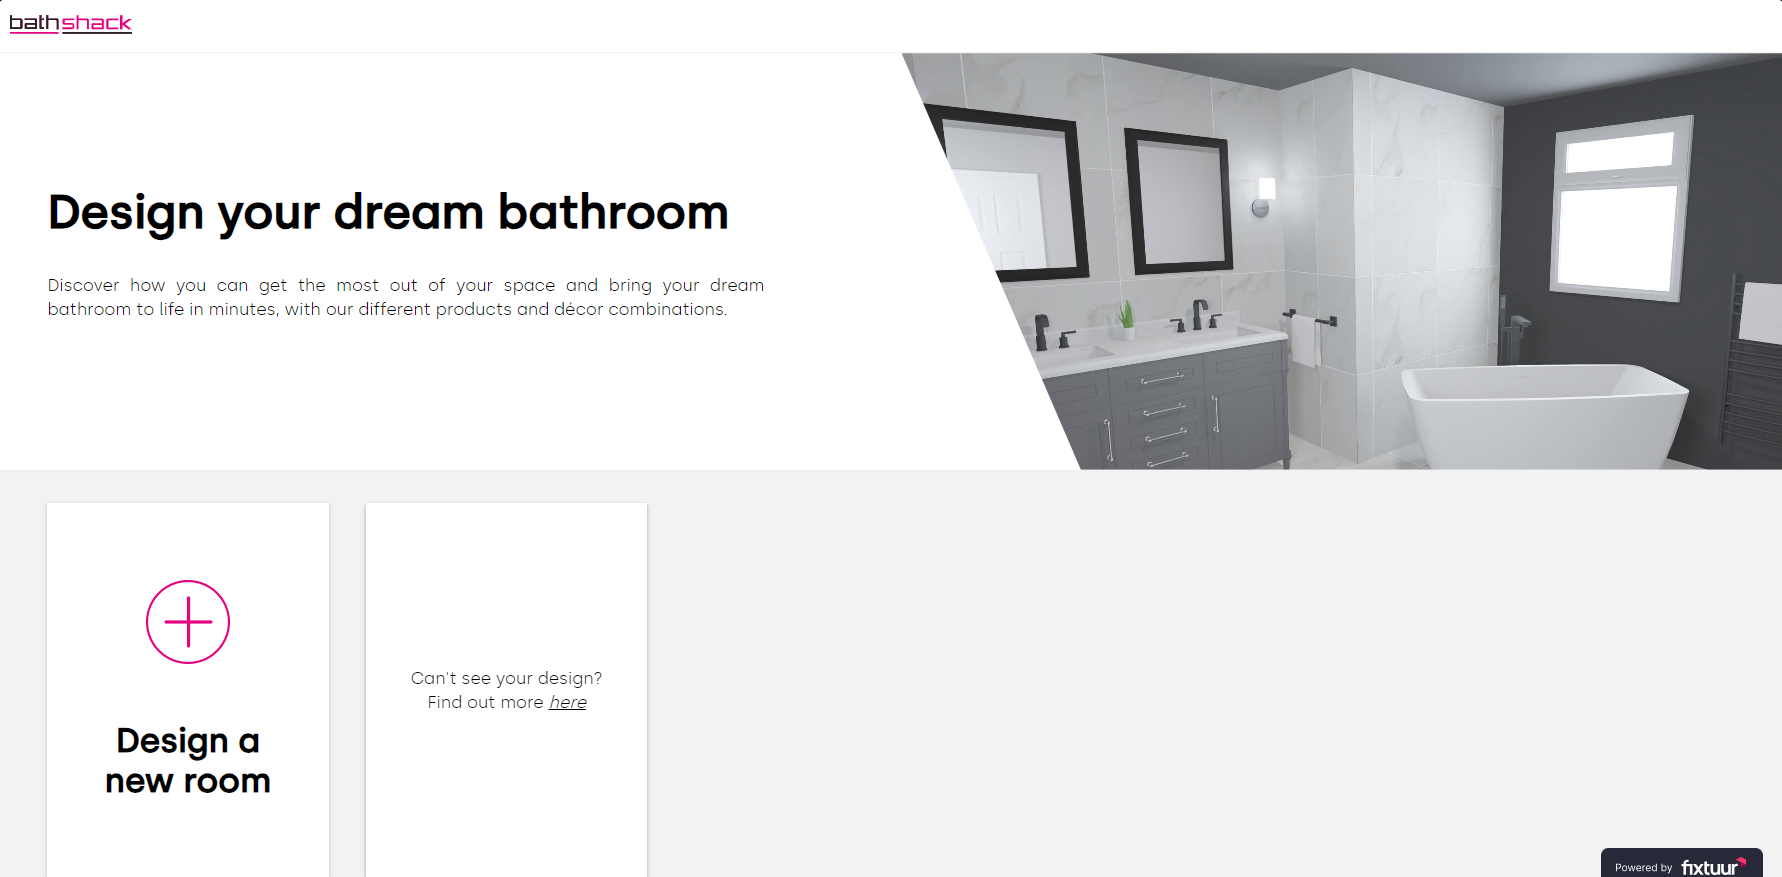
Bathshack’s new bathroom planner is a free online tool which lets you design your dream bathroom.
Benefits of the Bathshack Bathroom Planner and 3D Explorer
- Easily visualise your room: The bathroom planner will help you make the most out of the space you have by letting you see exactly what will fit into it and how the fixtures and fittings that you’re considering will look. This is a great way to ensure that there’s enough floor space for larger items such as freestanding baths and showers, so you don’t get any nasty surprises after you’ve purchased your items.
- Test out design ideas: Bathroom planners are a great way to experiment with different designs and layouts, without the attached cost. You can also play around with what types of furniture could work in your space, if you’re undecided on what to get – and you just might be surprised by the amount of space that you have.
- Accuracy: As the Bathshack Bathroom Planner and 3D Explorer creates a bespoke layout based on your specific room measurements, this means you can map out your bathroom down to every last detail. Using scale images of bathroom products – and with the ability to add tiles as well – you can subsequently create a realistic representation of how your bathroom will look.
- Better budgeting: By working out in advance exactly what you’ll need in terms of bathroom-ware and tiling, you can more easily see how much everything will cost. As a result, you can stick to your budget more easily and plan around this much more effectively. Allowing for more expensive items such as baths, for example, while also considering all the other fixtures and fittings you need, will help give you an idea of the overall cost before you start purchasing.
Bathroom Planner and 3D Explorer step-by-step guide
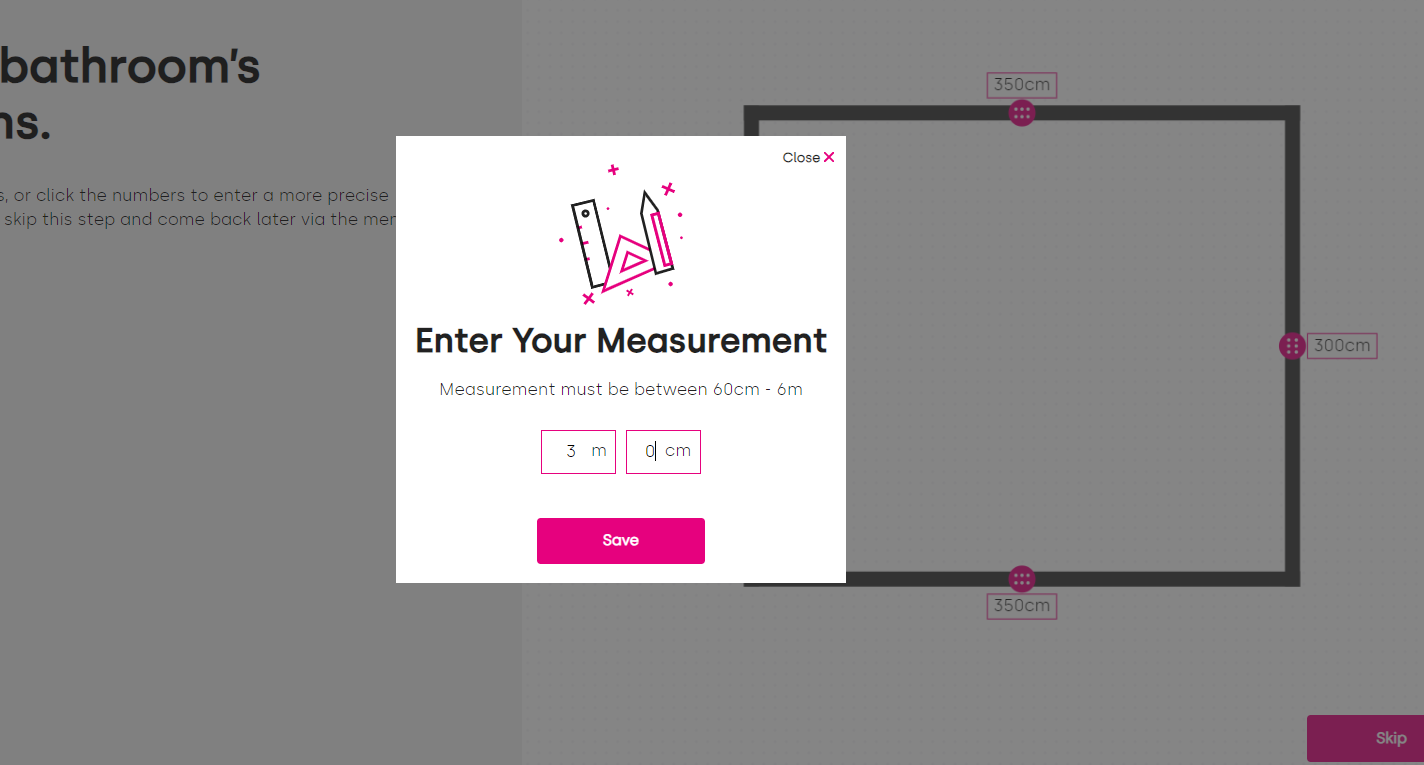
When you open the bathroom planner you’ll be asked to enter your measurements.
Step-by-step guide to using the Bathshack bathroom planner
When you open up the bathroom planner, you’ll see a sidebar on the left-hand side of your screen which is where you will select the items for your bathroom design. To the right of this, on the main part of the screen, is the space where your bathroom design will appear and which you can edit.
Step one:
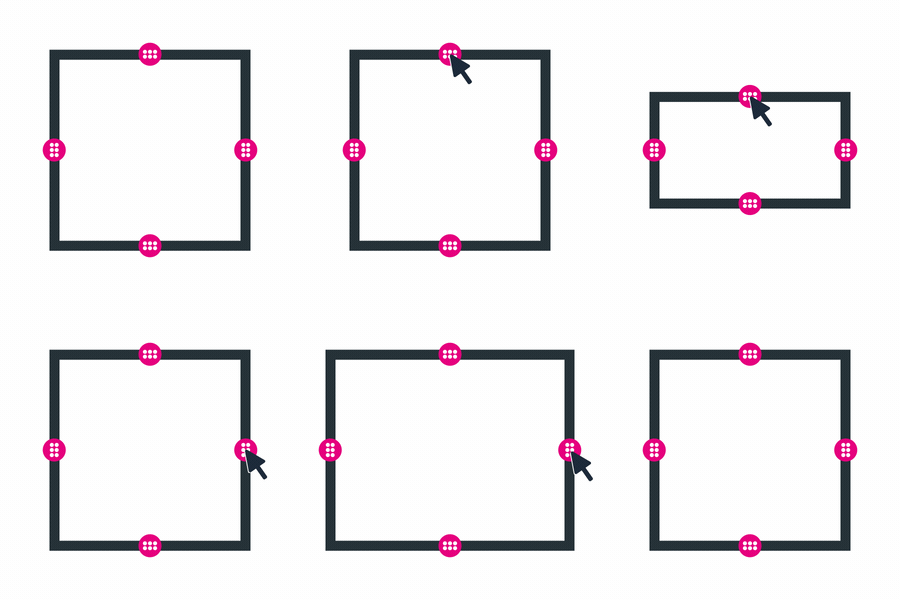
When you open the bathroom planner, the first thing you’ll be asked to do is to choose the shape of your room from the planner sidebar – for example, square, rectangular, L-shape etc. – and to enter the dimensions. Once you’ve selected the shape you can click on each wall to edit your measurements, as required. This will customise your planner, so you’ll be working with the exact space in your home and end up with a realistic visual of how your bathroom will look.
Step two:
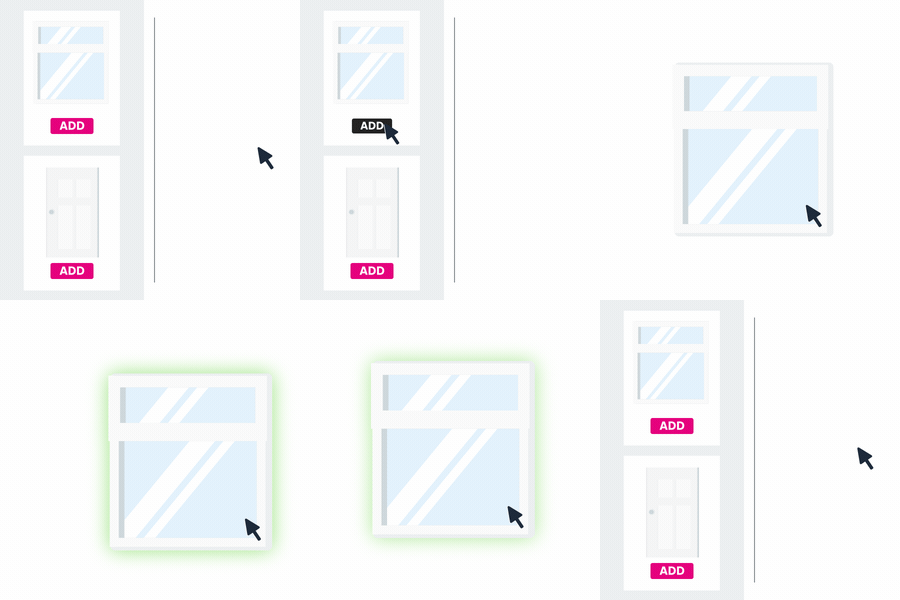
The next step is to insert your windows into the design. This is important as their positioning will influence where you ultimately place furniture such as your bath and toilet. Simply click on the window icons in the sidebar and then adjust these as necessary.
The design will load with a door already inserted, but this will need to be considered as well, in terms of working out available floor space. For example, if your door opens into the bathroom, then you need to remember to allow for this loss of space.
Step three:
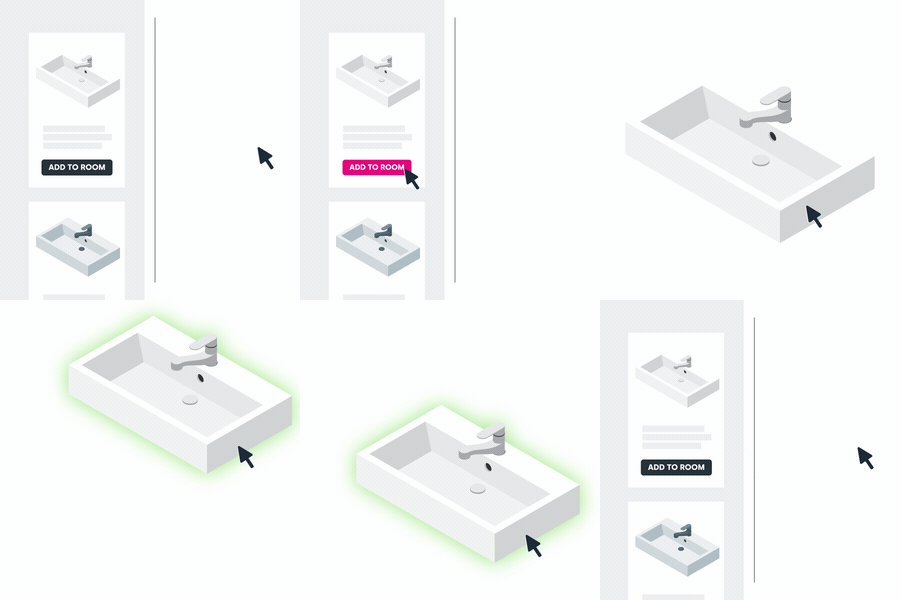
Adding your bathroom furniture is next. Simply select the items you want to insert into your design from the sidebar menu – which features a range of Bathshack products – and then add items to the room, dragging them into your preferred position. You can click these to edit as you go along.
Step four:
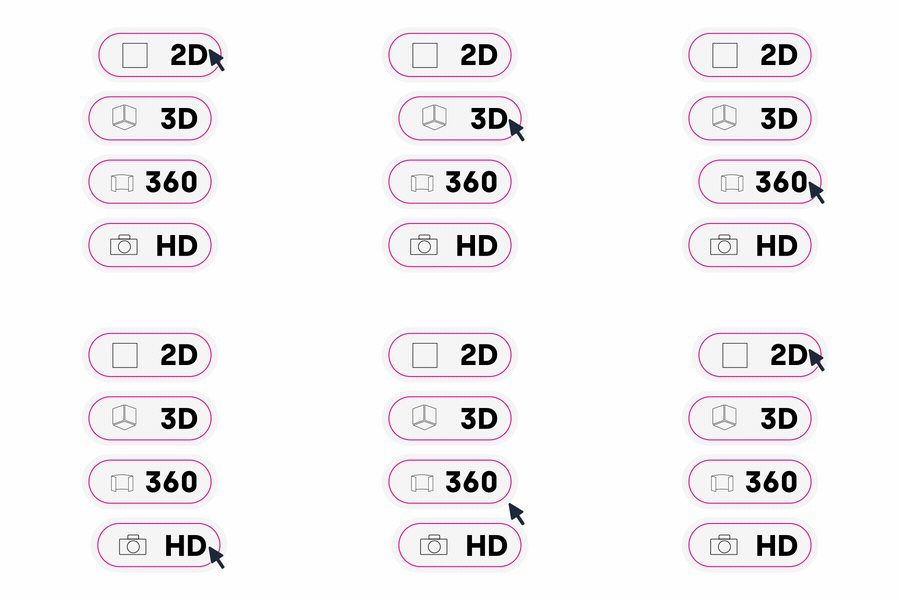
Once you’ve added in all of your bathroom fixtures and fittings, your design is complete! You can now enjoy a 360° view of how your bathroom will look (in addition to the 2D and 3D visualisations), so you can see the design from all angles and check that it’s exactly how you want it to be.
Please note: You will need to add three or more items into the room and decorate the walls to unlock this feature.
Your design will save automatically, so you can return to it at any time – or go back and tweak it as many times as you wish. You can also take a high-definition snapshot of the design and download it to your computer for easy access.
Step five:
Add your products to the cart and checkout or chat with our Bathshack team if you are unsure on anything! If you’ve completed your bathroom design, then one of our team can give you a call to discuss it, offering tips or advice if you have any questions.
Whether you’re designing a bathroom from scratch or simply want to update your existing space as part of a renovation, the Bathshack Bathroom Planner and 3D Explorer will be an invaluable tool. You can subsequently become your very own interior designer and create the bathroom of your dreams with just a few simple clicks – keeping you on track with both costs and what will look great in your home.
If you want to transform your interior, then it couldn’t be easier to get started. Try the new Bathroom Planner and 3D Explorer here.
Our expert team is always on hand if you need any help with your bathroom design. To arrange a face-to-face consultation just email info@bathshack.com.

