Can I Paint My Tiles?

Simply put, the answer to the above question is yes! Painting tiles is a quick, effective and more affordable alternative to retiling. Whether you’ve inherited an old design scheme, or you simply want to give your existing one a refresh, painting tiles can give your space a new lease of life. What’s more, you can paint over porcelain, ceramic and glass. Our handy step-by-step guide will help you paint your tiles the right way, ensuring a more precise and longer lasting finish.
Before you begin…
Make sure your tiled area is suitable for painting. Avoid areas exposed to water such as showers or behind kitchen sinks. You should also bear in mind that floor tiles in heavy traffic areas can quickly start to look scruffy when painted, as they experience a lot of wear and tear. Once you’ve decided if your tiles are right for painting, clear the area of any objects that will get in the way.
First, clean your tiles
Getting your tiles as clean as possible is vital before starting your paint job. They will need to be completely free from dirt, grime and grease, otherwise the paint won’t adhere properly. To properly clean your tiles, use sugar soap or any other commercial kitchen/bathroom cleaner with an abrasive sponge or scourer. Be particularly thorough with kitchen tiles, as they are likely to have grease or food residue on them.
Don’t forget to clean the grout as well. If there are any mould stains present (pay particular attention to this in the bathroom), use an antifungal spray before applying any paint. A steam cleaner is also great for cleaning both grout and tiles.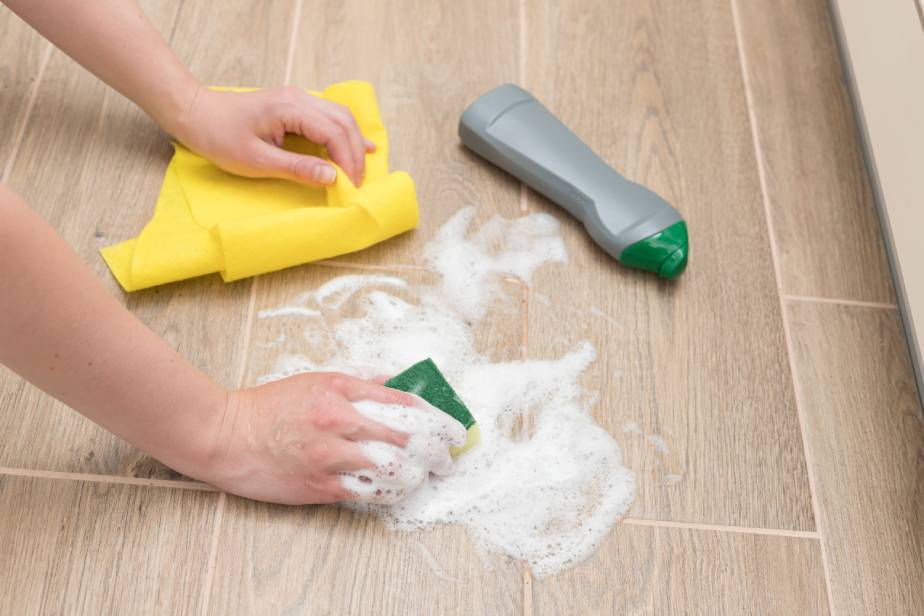
Next, repair any damage
If your tiles have hairline cracks or chips, use an epoxy glue like Gorilla Epoxy to fill them and wait to dry. This ensures you have an even surface for painting. If there is any missing grout, fill it in and wait for it to set.
Do I need to regrout my tiles when painting?
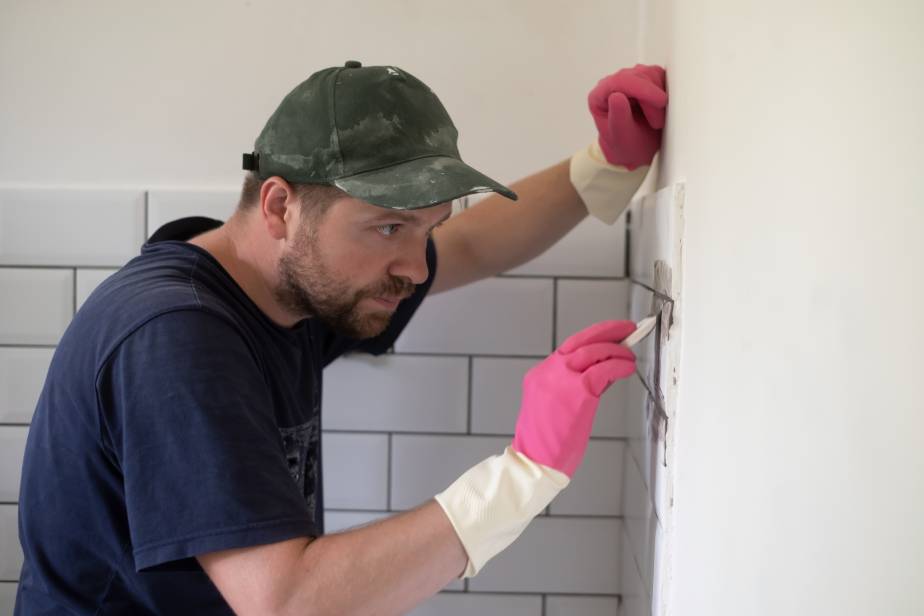
If your grout is in poor condition, you can scrape it out and re-grout before painting. Otherwise, regrouting is not necessary. Do not regrout after painting as this will damage the paint. If you want to keep the grout’s original colour, a quick option is to use a grout pen after you have finished painting as realistically, you will not be able to avoid painting the grout - this is extremely time-consuming and awkward.
However, you should try to remove silicone sealant from around areas such as sinks, as your paint will never properly adhere to it. You can re-seal when the painting is complete. If you can’t remove the sealant, make sure it is properly masked off.
Sand your tiles
Next, you will need to sand your tiles. This helps to rough up the glaze, so the paint has something to stick to. After sanding, make sure you brush off any dust, then get a damp cloth and wipe the tiles down. Wait to dry before painting.
Now, you are ready to grab your paintbrush. Before you start, use masking or painters tape to protect any surfaces that meet the tiles. You can also cover flat surfaces such as countertops and floors with newspaper, plastic sheets or dust sheets for added protection.
Time to prime
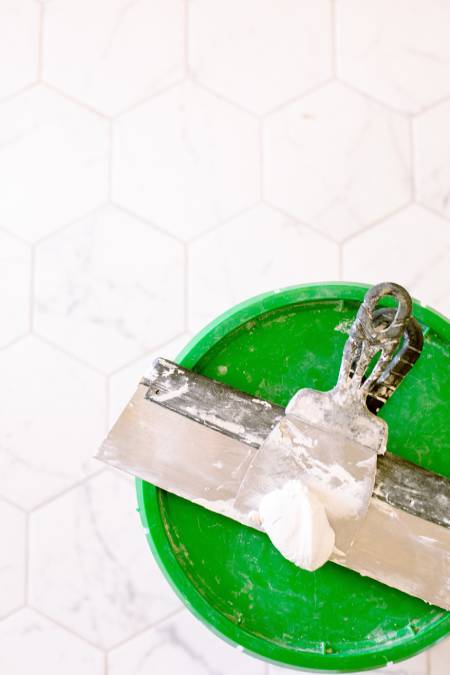
Before painting, it’s a good idea to apply primer first. This ensures that the paint adheres well and will result in a more durable, longer lasting finish. Use a primer that is made for hard-to-bond surfaces and apply with a small, 2–4 inch brush, as it’s hard to get into grouting with a roller. Work the primer into the grout first, then paint the tiles. If you want a smoother finish, finish off with short pile or foam roller. Make sure you don’t apply the primer too thickly as brush strokes will show easily (this also applies when you get to painting – keep your coats thin). Let the primer dry completely, which usually takes at least 24 hours. For the exact drying time, check the instructions on the tub.
Now you can paint!
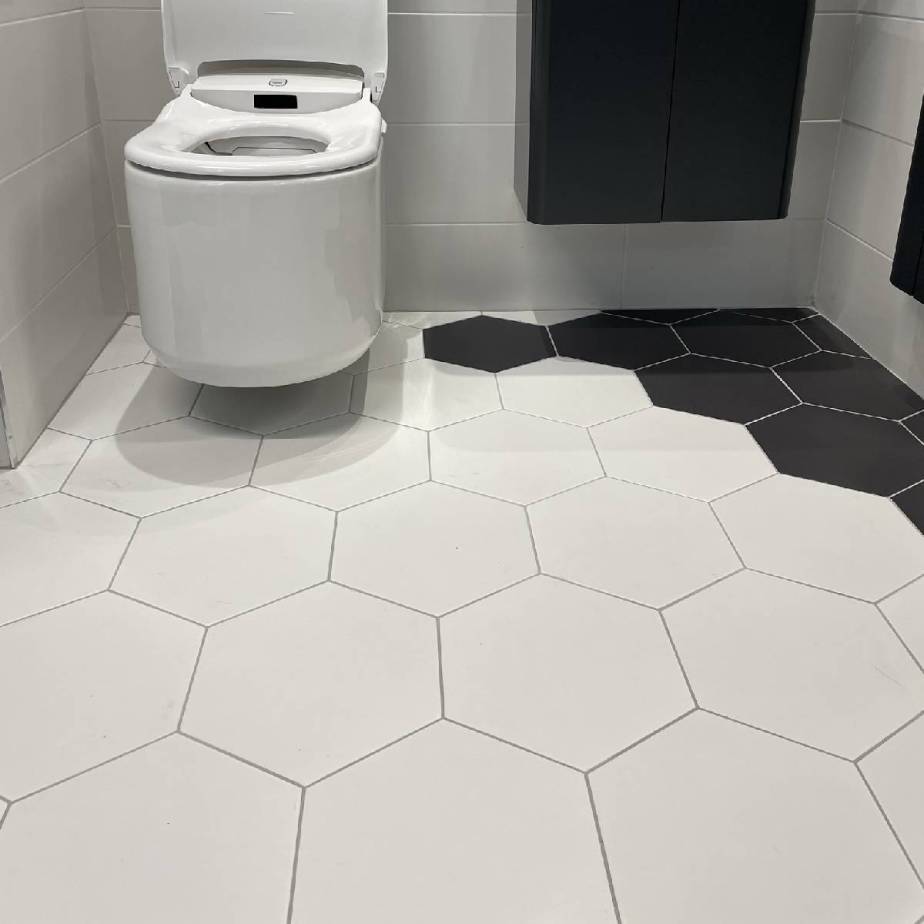
 Once the primer is fully dry, use a similar sized brush for painting. Make sure you also choose paint that’s specifically made for tiles. As with most paint jobs, the rule of thumb is to start at the top and work your way down to prevent drips falling onto newly painted areas. When painting floor tiles, start in a corner and work your way towards the door.
Again, apply thin coats to avoid obvious brush marks and to ensure the paint doesn’t peel after a few weeks. If you’re painting a light colour on light or a darker colour over a lighter one, you may not need more than 1-2 coats. Wait until the first coat is thoroughly dry (usually around four hours) to judge if another coat is needed. If you're painting a light colour over a darker one, you will need a minimum of two coats; again, make your own judgement call after each coat.
Be mindful that if you are painting over tiles that have a raised pattern, this will still show regardless of how many coats of paint you apply.
Tile stenciling
If you're looking for a patterned tile for a fraction of the price, why not consider painting over your current tiles with a stencil? While this is more time-consuming than standard painting, it is easier to do than you think, and the results can be stunning.
Pick a stencil in a size that fits neatly on your tiles. Before you start, practice on a spare tile or a tile sized piece of card and see how the pattern looks against your floor. It can take a few tries to get the hang of the technique, so make sure you’re confident before taking on the real thing. If it makes you feel more comfortable, start with less visible tiles and only stencil those in the middle when you're sure you know what you're doing.
To begin, stick the stencil to the tile. If you’re using a paintbrush, use a small one and dip only the very end into the paint to prevent overloading, then wipe away any excess. If your stencil is bleeding, this is a sign that you’re using too much paint. Remember, less is more when it comes to painting tiles. Alternatively, you could use a sponge instead of a brush. This normally prevents you from using too much paint and makes it easier to cover a large area in a short space of time.
Use your stencil to paint one tile at a time. This ensures precision and that your patterns are aligned as they should be.

Aftercare
There are certain guidelines you can follow to keep your newly painted tiles in top condition for longer. The surface of a painted tile does not have the same strength as a standard glazed tile, so avoid abrasive cleaners, strong detergents and coarse sponge pads, wire wool and brushes. These might cause the tiles to start peeling, reducing the lifespan of your paint job. Instead, use non-abrasive liquid cleaners such as washing up liquid in warm water with a soft cloth or sponge. Just wipe over the tiles and dry to keep your paint looking good and to increase its longevity.
Need more advice on tackling your tiles? We always recommend chatting to a professional tiler or painter before you begin. You can also contact our team or speak to one of our helpful showroom staff – we have 6 stores on the Island of Ireland, with 2 on the way soon!